Okay, I admit it, AUTOMATIC is stretching the point a little ...
In a earlier thread, I promised to show my method of doing elevations. I am assuming that this is pretty unique in the Softplan community, but if anyone uses the same - or a similar - method, I'd like to hear from you.
~~~~~~~~~~~~~~~~~
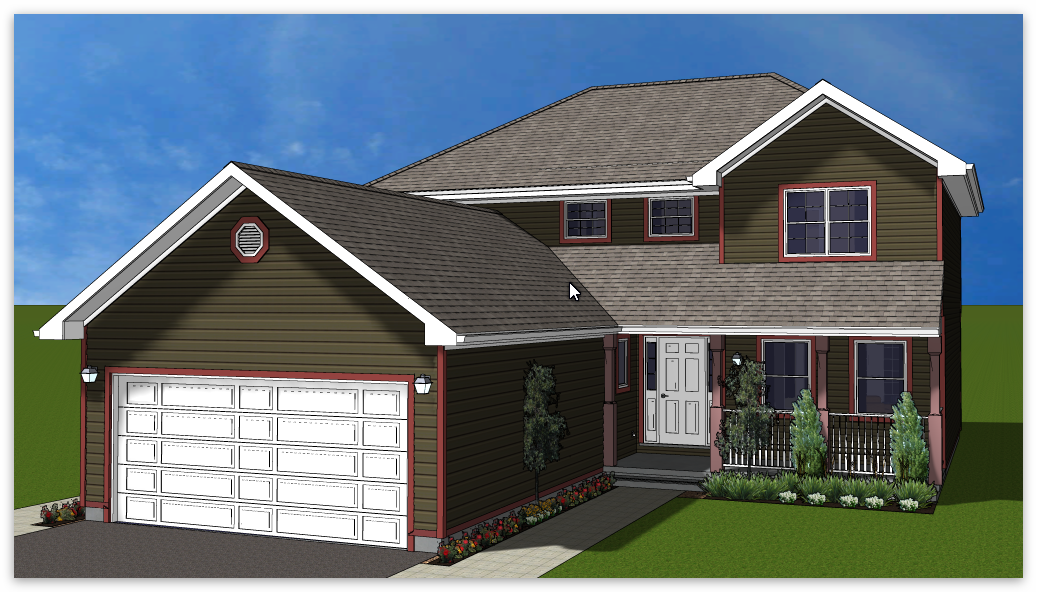
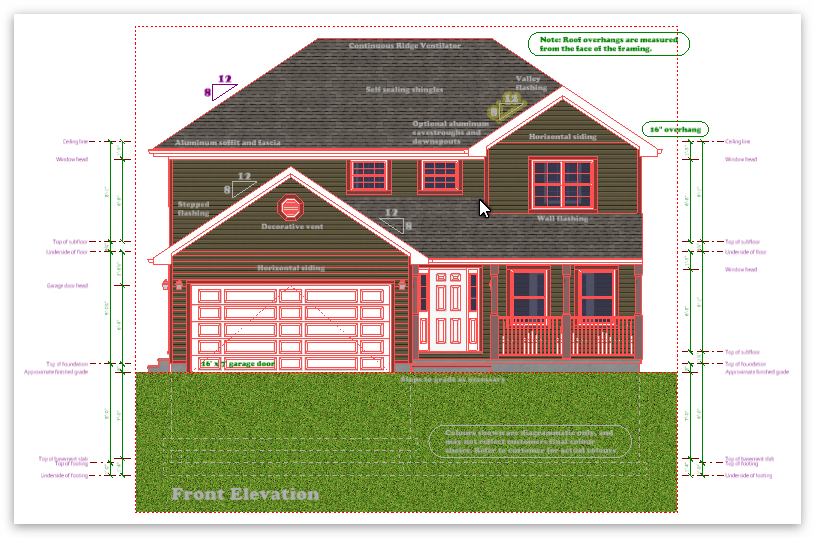
This is a Standard SOFTPLAN sample project model, that I've borrowed for this small Tutorial.
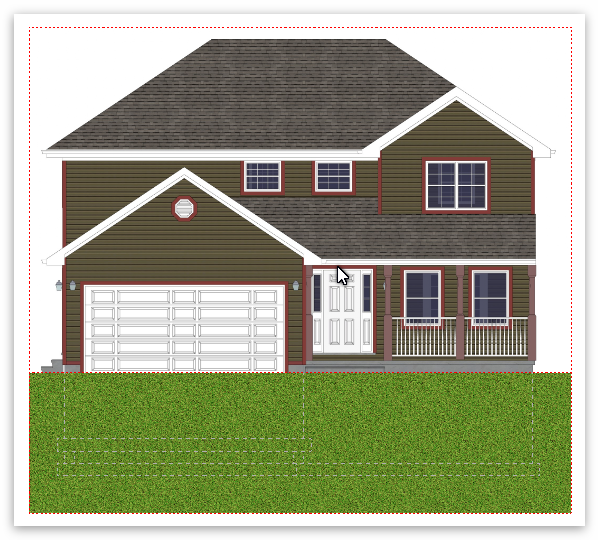
The MODEL PAINT is MY standard materials, and the render mode is MY standard WATERCOLOUR MODE which is seriously customised from the default, and is deliberately NOT intended to be photorealistic. The other mode that I use is ILLUSTRATED which is identical to the watercolour, but has a blank white background, and no shadows.
Generate Front Elevation.
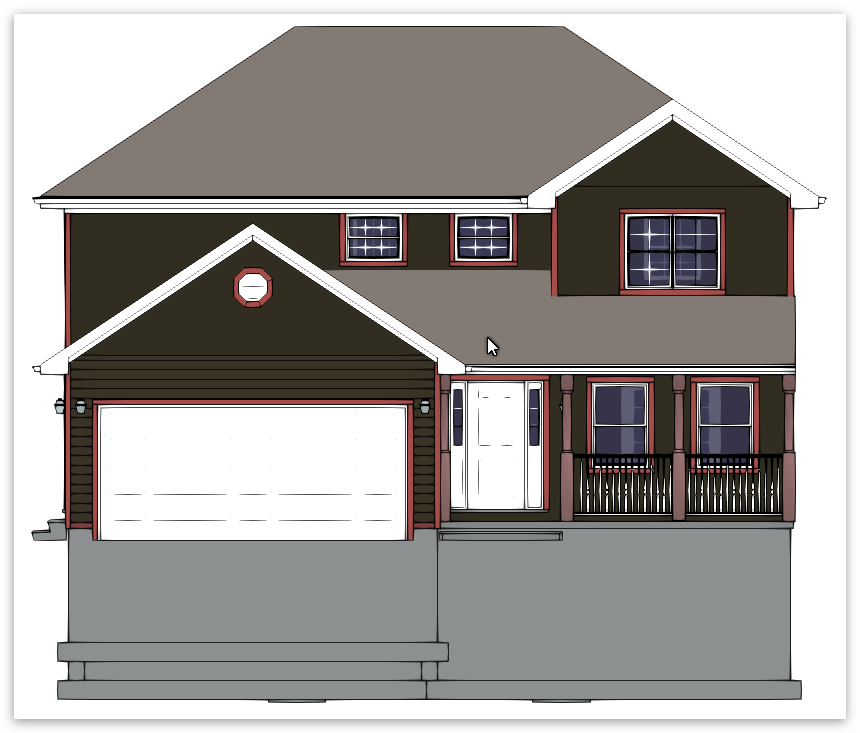
and Save as a SOFTPLAN drawing ... NO AUTO-PAINT.
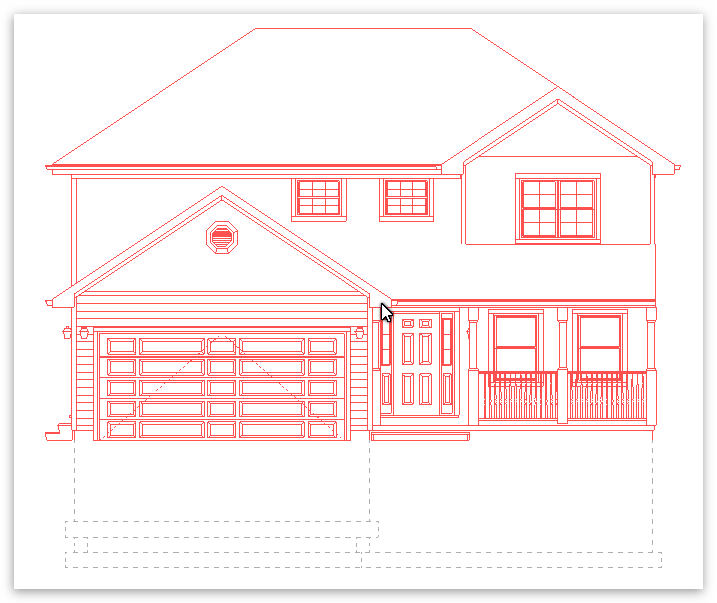
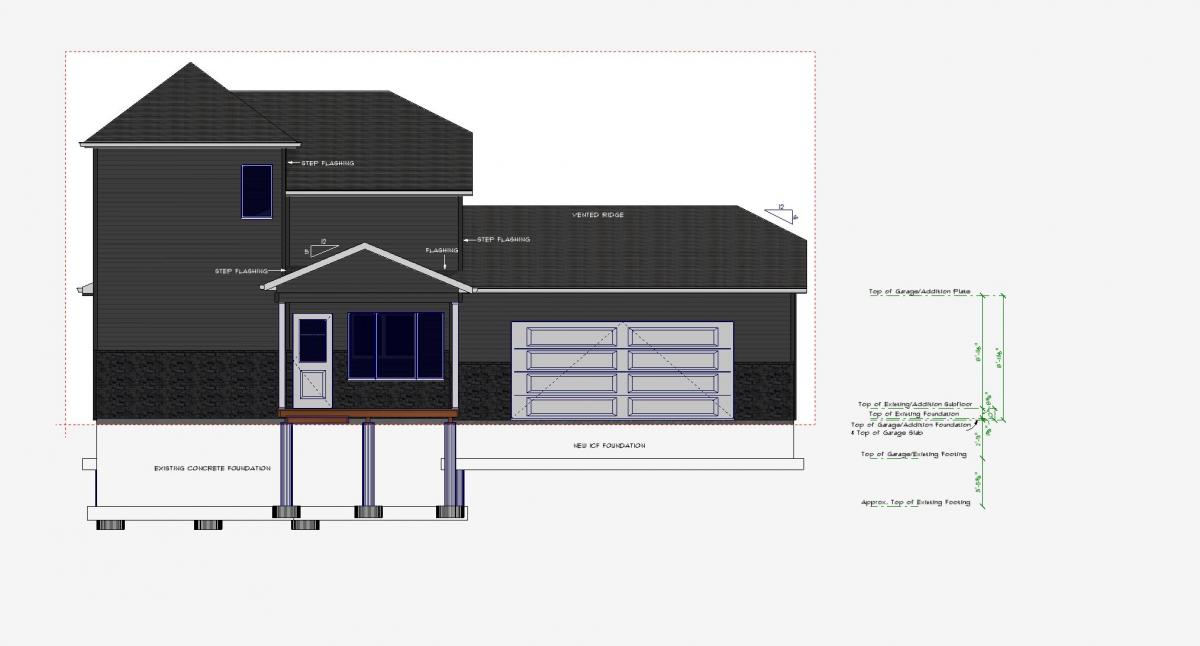
Remove Elevation Markers and Text (you can obviously keep them if you use them, but I always put my own in, in a specific manner, so I delete the originals).
CTRL-SELECT everything RIGHT CLICK and SET LAYER as HIDDEN (any will do but HIDDEN is self explanatory).
Change lines below grade to LAYER - WHITE (the white layer is defined as ONLY PEN 9 in the layer setup) and edit to dotted (I've explained in the past that I have PEN 9 set to print as white .... you'll see why further down).
Add SHADE BREAKS to perimeter and GRADE. Note: There are limits to the extent of the shade breaks outside the model, before the model paint repeats. If you see the repeat, adjust the shade breaks as necessary to eliminate the issue. I haven't figured out yet where the repeat starts, but it is surprisingly close to the model.
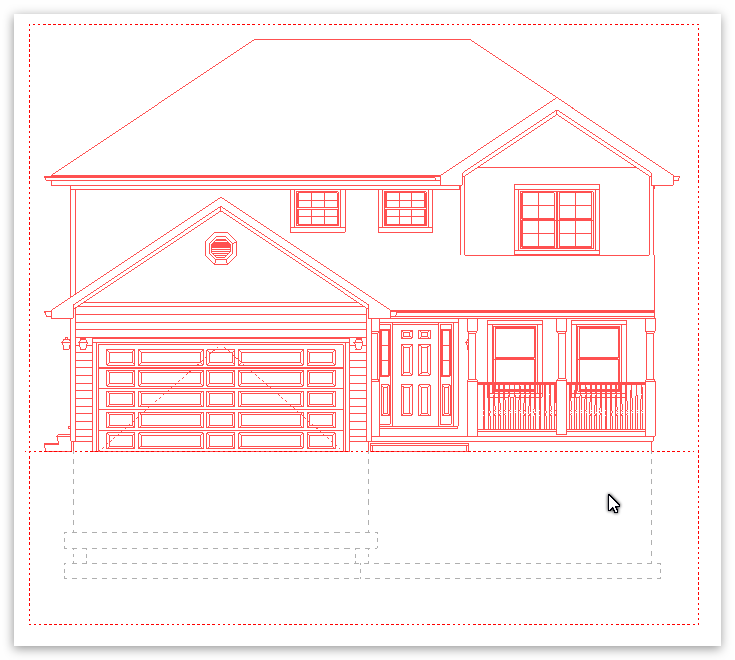
Add model paint to an above grade area (any one), and image paint of grass to a below grade area (again any one).

Edit both paints to be SHADE paint. Also ensure that the OPACITY of the MODEL PAINT is set to 100%

Edit above grade model paint, CLICK EDIT 3D OPTIONS and edit it's render mode to ILLUSTRATED (Note: My Illustrated Mode is highly customized)..


 Sorry, wasn't meant to be a soap-box. Just went there)