Jump to content


Photo

Holes in ceilings / skylights


  • Please log in to reply
4 replies to this topic

#1 Martin Livingston

Martin Livingston

    Advanced Member

  • Members
  • PipPipPip
  • 693 posts
  • LocationHalifax, Nova Scotia

Posted 07 July 2015 - 10:46 AM

Hi all!


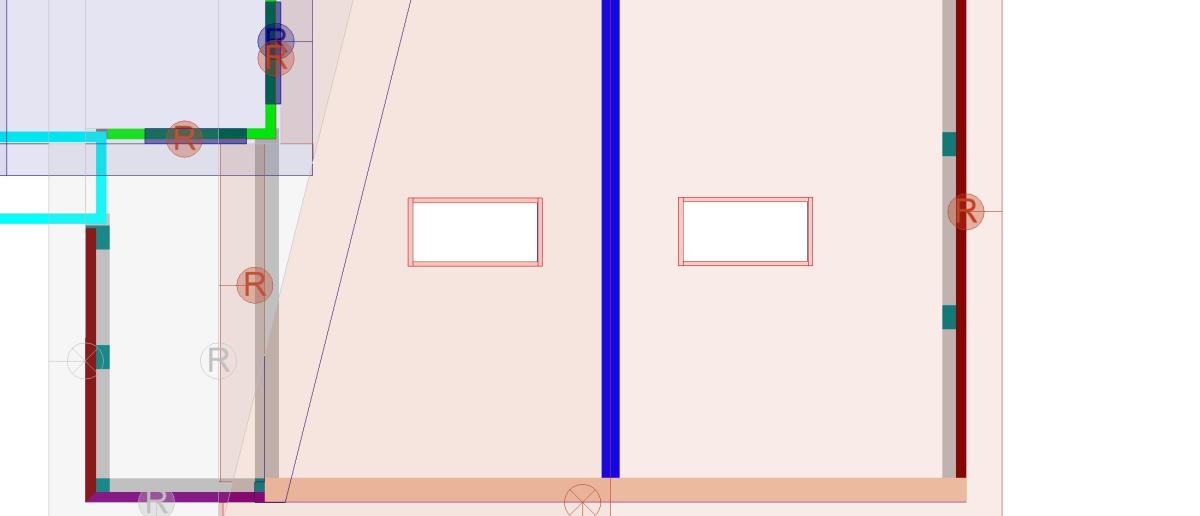
One of the options for a hole in a ceiling is "add drywall". I created a couple of holes for skylights and was looking at the prospect of filling in the sides with solids to represent the drywall before noticing the "add drywall" option for the hole. That option is not discussed in the manual. Here is a screen shot of the two openings I am working on. The "add drywall" option has been checked but does not seem to have any effect.


Just so everybody is on the same page, the skylights, ceiling holes and flat ceiling extension are on their own "building option" and the general roof/ceiling assembly are assigned to the default "building option". Not sure if that makes any difference or not but I thought I would mention it.


How have you guys been creating the light shafts. I am guessing that the "add drywall" option only works on a rafter roof.

Attached Thumbnails

  • ceiling mode.png
  • skylights.png

Five out of four people are not very good with fractions

www.cresco.ca


#2 randolph cohn

randolph cohn

    Advanced Member

  • Members
  • PipPipPip
  • 869 posts
  • Locationmarin county - california

Posted 07 July 2015 - 03:28 PM

not sure if this is what you wanted in the end.

drawing partitions is how you make a shaft between

the roof and a ceiling below it.  the ceiling

can be flat or sloped,  same with roof.


the add drywall is to fill in the sides and ends of the framing where the hole is cut.


to create a shaft from a flat ceiling to the underside of a roof is with a partition wall

with drywall on one side or both sides.


"offset" the partition to sit on top of your ceiling framing

and than click "fit to roof".

if you have a floor in the plan.  add the thickness of

the floor along with the distance the ceiling is above the floor

and the thickness of the ceiling members.  that's normally

where you'd build the partitions for the shaft.

(but build it all the way you'd do it in real life.


tip:  you can add and move and erase and adjust, etc, etc, etc

roof, ceiling, floor, etc individual framing members.

adding individual roof framing members will automatically

conform to the pitch of the roof. even if drawn on an angle

to the pitch.


click to enlarge


skylite shaft with partitions.jpg


randy

v10 to future 2016+ ;)


#3 Keith Almond

Keith Almond

    Advanced Member

  • Members
  • PipPipPip
  • 5,099 posts
  • LocationBrockville, Ontario, Canada

Posted 07 July 2015 - 07:43 PM

Randy, If you have to do that, what's the point of the add drywall to hole checkbox? It should work quite fine between trusses, the same as between rafters.


Keith

There are 10 types of people in this world ....... Those who understand binary, and those who don't.

Softplan user since version 5.5.2.5

www.homehardwarekingston.ca

#4 Martin Livingston

Martin Livingston

    Advanced Member

  • Members
  • PipPipPip
  • 693 posts
  • LocationHalifax, Nova Scotia

Posted 08 July 2015 - 09:51 AM

I haven't added the roof trusses for this house yet. I will try the "add drywall" function again after they are complete.


"offset" the partition to sit on top of your ceiling framing

and than click "fit to roof".


Does it matter that it is a sloped ceiling? The exterior slope is 4/12 and the interior is 3/12


Five out of four people are not very good with fractions

www.cresco.ca


#5 Robert Robinson

Robert Robinson

    Member

  • Members
  • PipPip
  • 10 posts
  • LocationAtlanta, Georgia

Posted 24 October 2023 - 01:00 PM

The best way I know how to fill in the sides of the skylights is to got to ROOF option. Go to DRAW then FRAMING. Click on FRAMING MEMBER then tap each side of the skylight. I will fill in each side. You will then need to change the height of each member to fit between roof and ceiling. I then just add a texture or color to the wood member and it works perfectly. It follows the roof pit so you will not need to adjust and angles.

Attached Thumbnails

  • Skylight 1.jpg
  • Skylight 2.jpg
  • Skylight 3.jpg
  • Skylight 4.jpg


0 user(s) are reading this topic

0 members, 0 guests, 0 anonymous users