Jump to content


Replying to Complex Roof Design


Post Options

    • Can't make it out? Click here to generate a new image

  or Cancel


Topic Summary

Jakob Smith

Posted 28 February 2023 - 06:45 PM

I might be tardy to the party here but I have some images to post. How do I do that?


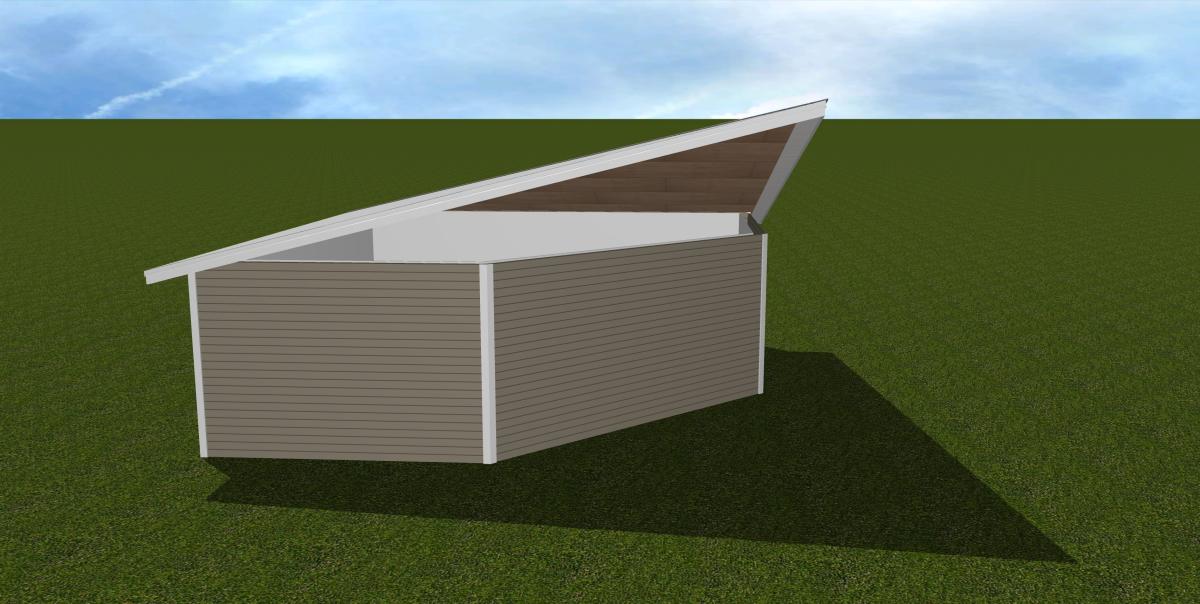
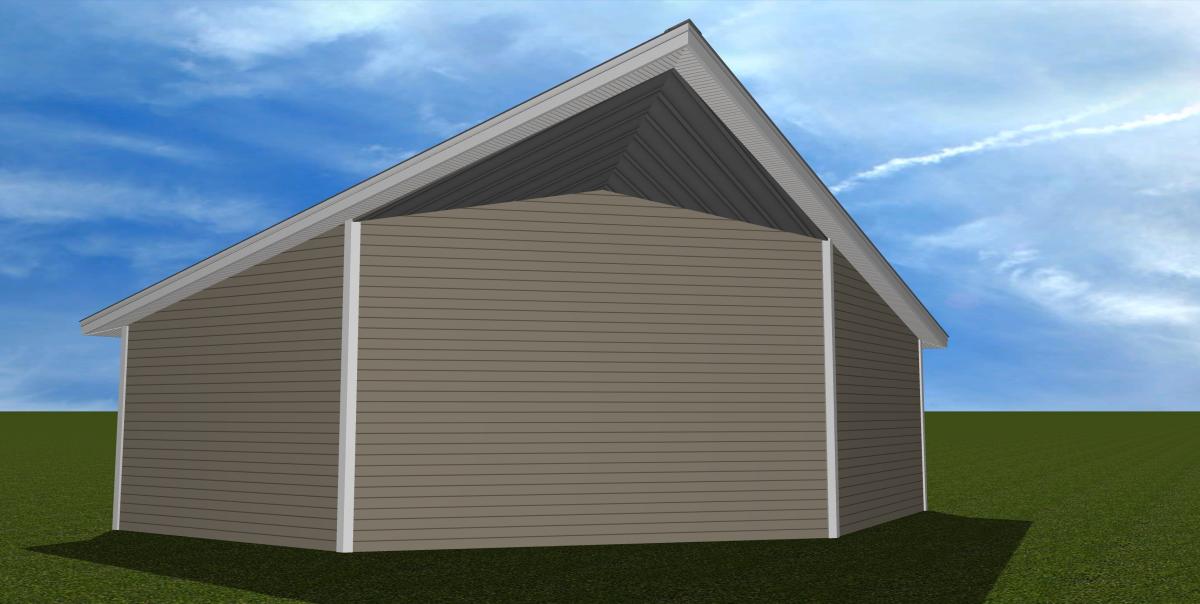
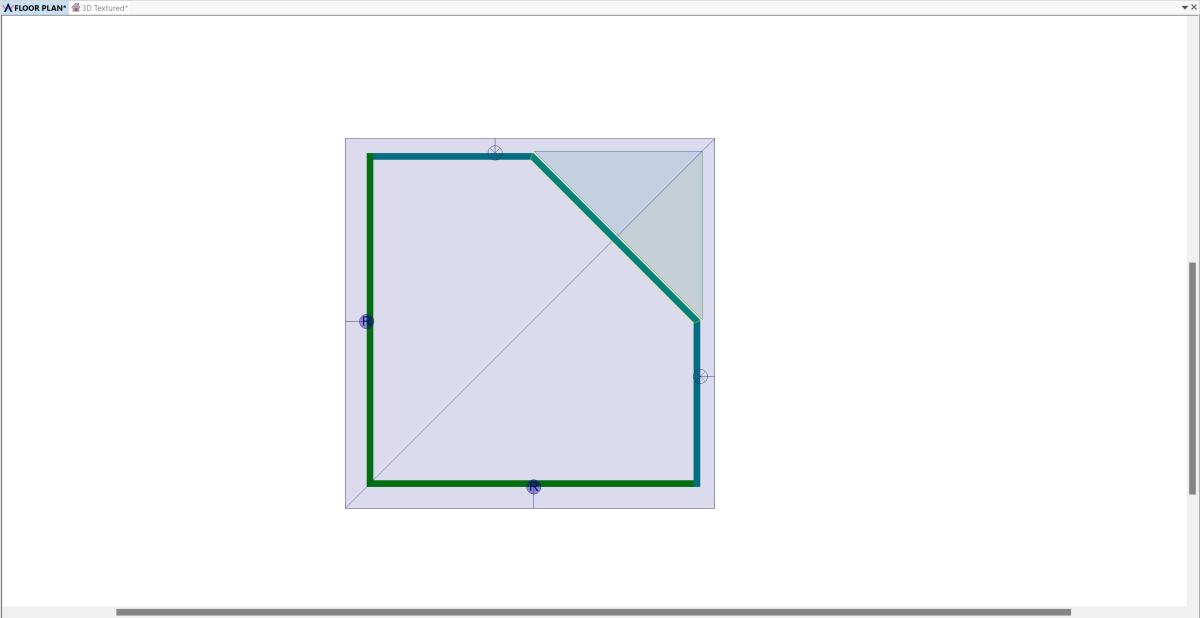
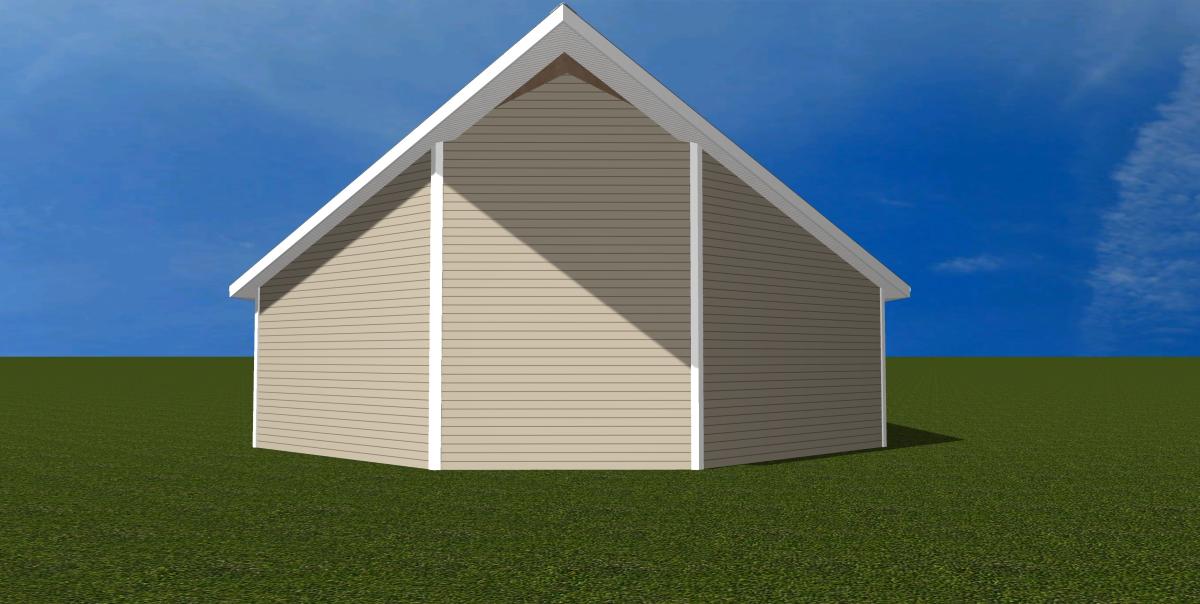
I was having issues with that as well. There is a box at the bottom when your writing a post. the box next to the post button, it says "more reply options". however i just tried to post this comment from my phone and this box was not available, im not sure how it would be done from mobile devices  (photos attached)


Kenneth Maye

Posted 25 February 2023 - 04:59 PM

I might be tardy to the party here but I have some images to post. How do I do that?


Posted 25 February 2023 - 04:55 PM

I might be tardy to the party here, but I have some images to post. The only problem is.....how? I used to post on SPLASH all the time and as I recall, I had to host the images on something like photobucket and then copy the url from there. Is that still the case or has it been mercifully simplified?


Jakob Smith

Posted 22 February 2023 - 02:46 PM

Okay great, ill give this a try. Thank you so much for your help!


Matthew Dunson

Posted 22 February 2023 - 12:11 PM

Based off your floor plan, I would use the method to where you assign gables to the short flat wall sides without the need of using holes. Here are a few reference images that I tested:


Prow 1.jpg Prow 2.jpg Prow 3.jpg Prow 4.jpg


Each image is every step of the process. I first mapped out the walls and you can add any openings as per your design. Secondly I used the 'Fit To Roof' option for each wall (easy trick is to do it with one wall and use the 'Repeat Edit' command to quickly repeat that step to the other two walls). Next, I ensured that the Gable End Provided by Roof is unchecked and I changed the Soffit from Plumb to Rake so that it has a smooth transition from the gable to the hip. Lastly, I used the Roof Plane tool in 3D Mode with Snapping enabled (F11) and I drew two triangle roof planes in the areas where the soffit wasn't generating at the Gable Peak. Use the Surface Edit option to adjust the surface texture of the roof plane to match the texture of your soffit and you should be good to go. Of course each project is different, and you may find other methods that are easier or may work out better for you, but this should get you closer to your goal.  :)


Jakob Smith

Posted 22 February 2023 - 11:14 AM

Thank you Matthew, this information is very helpful and i will try out these methods. attached is the floorplan i am using, along with 4 elevation shots, and a top down view.


Matthew Dunson

Posted 22 February 2023 - 10:55 AM

@Jakob Smith


A Prow Roof style in SoftPlan is relatively simple to create (with certain exceptions) and these are the methods I use to create this type of roof design, but there are a few limitations that either the development team or another user can expand upon.


EXAMPLE 1:

Exterior 1.jpg Exterior 2.jpg Exterior 3.jpg Roof 1.jpg


In Example 1 Images, I basically drew the roof as a square and assigned two sides as Hip Returns and the gable peak as a Gable Edge. Then I used Roof Holes to cut the desired shape of the roof (I used a 45 degree cut). I used the Snapping tool to align the hole to the edge of the wall and then I used the Adjust tool and typed my desired overhang in inches to adjust the hole. I kept all the walls at a fixed height and then I used the 'Fit To Roof' option in the wall properties to fit it to the bottom of the roof. SoftPlan cleans up the soffit and fascia for the most part but the area it has trouble is at the gable peak with the flat wall. I have needed to use this roof style before, and I can't seem to get the soffit to generate the small portion between the flat front wall and the gable peak. Usually I use a 3D Roof Plan to cover the gap in the meantime but it isn't always perfect. (Remember to uncheck Gable End Provided By Roof)


EXAMPLE 2:

Exterior 1a.jpg Exterior 2a.jpg Exterior 3a.jpg Roof 1a.jpg


In Example 2 Images, I kept the main Prow Roof walls at 45 degrees but the joining walls are rotated an additional 15 degrees. In this example, I used a slightly different method to where instead of assigning one single gable end to the flat front wall of the roof, I assigned two gable edges on the angled walls. This can be achieved by using the Trace Roof tool. This allows me to assign the gable ends overhang individually. (Remember to uncheck Gable End Provided By Roof)


I think what would help is if you had a floor plan of your project to get a better idea of the angle of the walls of your project since there are multiple methods to achieve the same result, but both methods I have had problems with the flat end of the gable not generating the soffit under the prow roof gable peak (again use a 3D Roof Plane to cover any gaps). If you need further clarification or explanation, please let me know. I hope this gives you a better idea to get you closer to achieving your needs.  :D


Sam Morgan

Posted 22 February 2023 - 10:13 AM

You did post those pictures before...but it doesn't give enough info for me to understand what you're trying to accomplish.  


Jakob Smith

Posted 21 February 2023 - 05:08 PM

I did attach photos with my original post but ive never posted on here before so maybe they aren't showing up. I

will attach photos of the look im going for on this message.


garageCapture.JPG
sideCapture.JPG


Sam Morgan

Posted 21 February 2023 - 03:45 PM

You'll probably want to post a photo of what you're trying to accomplish....I can't picture it


Review the complete topic (launches new window)