NOTE: You don't need to have Sketchup installed for Softplan to work with Sketchup objects.
Some steps - like personal preferences of where to file objects - are obviously optional ... Make your own mind up about these.
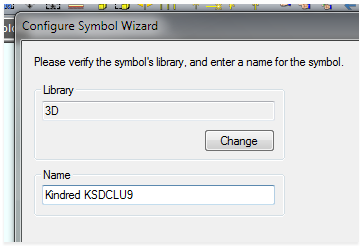
First of all, go to Sketchup's 3D Warehouse, and download any object that you wish .... For this example I'm using a Kindred KSDCLU9 sink.
I normally file all my Sketchup downloads in a folder called "Sketchup Downloads" that way I don't have to search all over for them for them.
In Softplan open a new project and open the 3D tab.
Go to FILE > SYSTEM OPTIONS > SYSTEM LIBRARY ... Change Library to SYMBOLS
Now add a library called 3D ... (it helps if you can find these things again) ... and make it active.
Now click the WIZARD button, to Open the Symbol Configure Wizard and give your Symbol a name. Click NEXT.
Is the plan view symbol you want to add to the library on screen? Choose the NO radio button. Click NEXT. Sometimes you may want to link the 3D to a specific layout that you have on the screen, and if you can, it's probably better for you, than the one that Softplan will GENERATE later, in which case, choose the YES radio button. Click NEXT and TRACE (draw a select box round the symbol on the screen).
Click IMPORT 3D SYMBOL and navigate to the model file that you downloaded. Under Add to library, I always add them to a Library called KEITH, again that way they are always in the same place.

And now you should have a 3D of your chosen model in the 3D window ... spin this around and view all sides, top and bottom to make sure this is suitable for your needs. Click NEXT.

Please verify that the views are correct. NOW in my experience, typically they are not. So choose NO - Bear in mind How you draw Softplan symbols (typically from the back to front), and click NEXT.
Adjust to suit ... REMEMBER, you can always use the back button if something looks wrong.
Set the TEXTURES for the symbols layers. Sketchup symbols come in a variety of layers. Some with one or two some with hundreds. There are pluses and minuses each way. Once you have the textures as you like them. Click NEXT. It's better to spend a little time adjusting textures here, than it is trying to fine tune them every time you use them. Although you can always change the colours in your drawings locally anyway. You just don't want to edit too many.
Set dimensions, they are normally correct, but sometimes can be many factors out. Click NEXT.
Set options as necessary. Click NEXT.
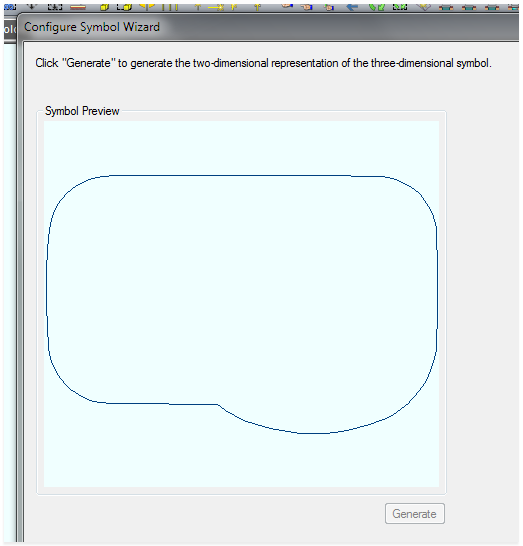
If you didn't have a 2D symbol earlier, you will be presented with a Generate screen. Click GENERATE. As you can see from the generated 2D, this is one of those times that may have better to have had a 2D symbol on the screen to trace first.
Click NEXT: Click FINISH
You now have a 2D Softplan symbol in your 3D symbol Folder that you can use on your drawings, that is automatically linked to a 3D model in your 3D's.